Do you ever look at your work day in retrospect? Not in a task-done, meetings-held kind of way. Rather how your body moved throughout the screen-heavy humdrum?
If you have, you might have noticed that you have a tendency to mold into in one position. At best, you routinely switch your favorite three postures to spice things up a little. Way to go!
Well, not really... Pretty lousy, if you ask us. And we have every right to think so.
Now, we'll risk sounding like a broken record but only because it's damn worth repeating. Unhealthy sedentary living has got us in all sorts of trouble. Think cardiovascular diseases, diabetes, obesity, high blood pressure, and then think some more... Even if your job demands you to move around, the chances are you're stuck in patterns. Click here, hover there, do this, do that - and again. A loop from the deep pits of sedentary damnation.
After all, repetitive moves even made doctors name the injuries after our occupations - tennis elbow, nun's knee, golfer's elbow... A telling sign you need a move-groove diversity.
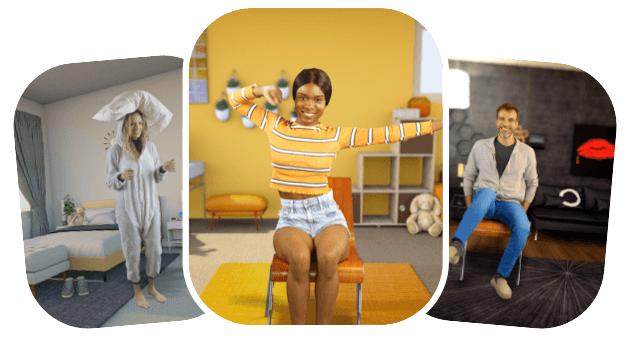
If you're with us you're either a part of our Wakeout force already or you're eager to turn the page. If just starting out on this pattern-breaking jaunt, these seated yoga poses will remedy all sorts of your body aches. If only nuns did it, right? 😀
What Are The Benefits of Chair Yoga?

The benefits of yoga in general have bunched up so much that the practice became people's champ. Perhaps, the most adored well-being drill for 21st-century chair-denizens, hence it's variations like desk yoga, seated poses, or chair yoga.
The reasons are obvious, of course. Research suggests that yoga relieves stress, supports healthy habits, and relieves low-back pain and neck pain, headaches, and knee osteoarthritis. As much as yoga poses help us cherish our bodies, they soothe our minds even more so.
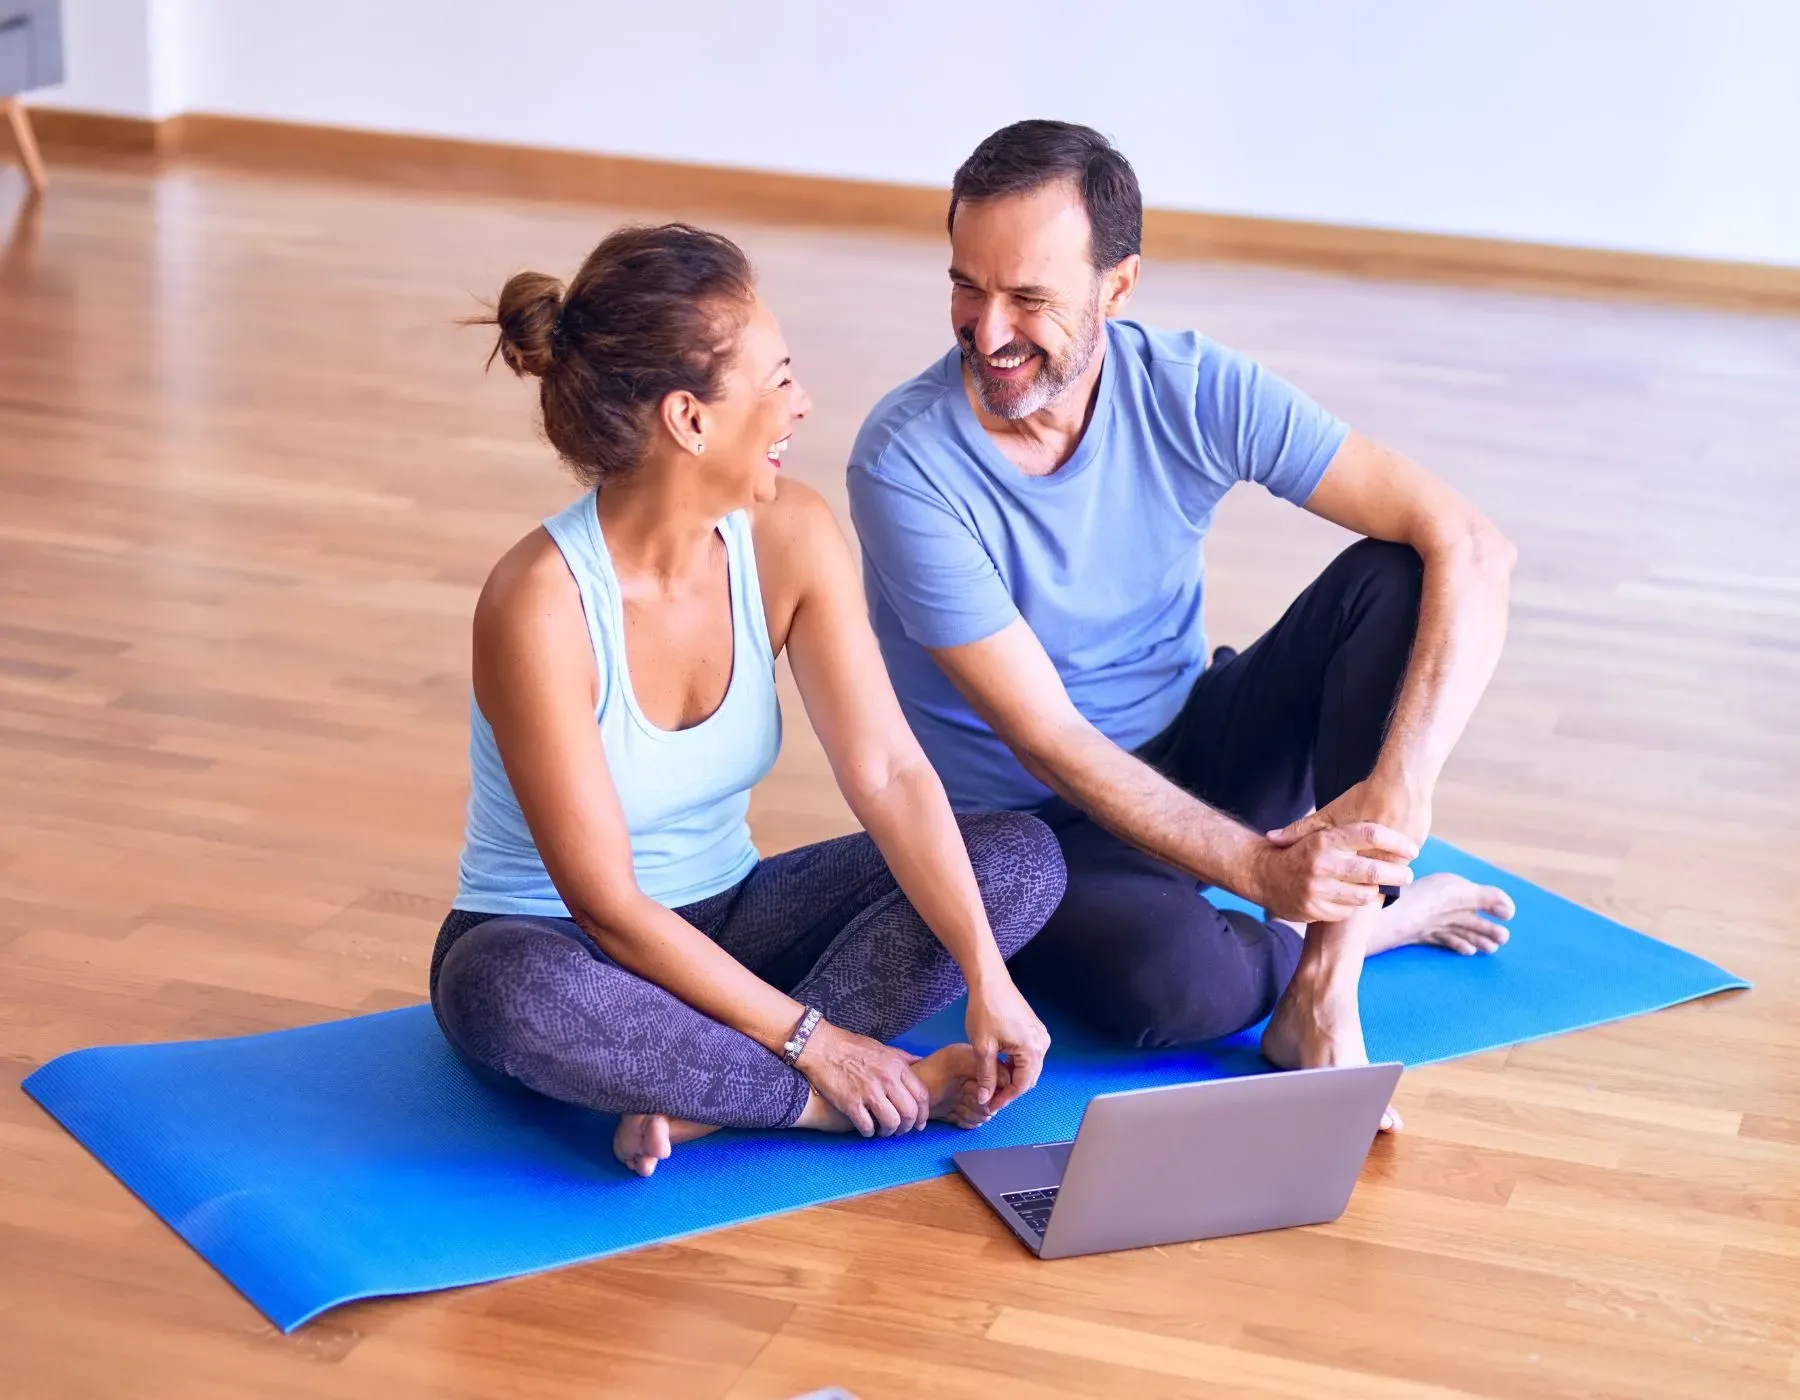
The benefits of chair yoga (aka seated yoga poses) on the other end - yoga's modern sibling - are as vast. It's still yoga, right? Only, this strain of practice - chair yoga - is attainable for everyone. No need to roll out your mat or wheeze out trying to get the seated poses right. With an accomplice in an office chair, you'll be able to pull off all sorts of seated yoga poses at your convenience.
Bow pose, seated mountain position with feet rested on hips, revolved triangle pose... Not all of us are made of rubbery substances! Such exercises either take months of practice or need other, gateway seated yoga poses that ease us into more complex stances. Gentle chair yoga does just that - it makes the journey walkable; exercises a whole lot easier (and still beneficial); and makes us feel better about ourselves instead of continually failing to stretch as much as our patience tends to.
Most importantly, chair yoga can be done at work.
Seated yoga postures are super convenient as you don't need to get up or cringe while lying on an office floor. It also provides that deep stretch your body thirsts for. Plus, it makes you want to squeeze in another break from work and boost your productivity, well-being, and focus.
What is chair yoga good for?
- Seated yoga poses are perfect for people with limited mobility and older adults. Just like yoga straps!
- People with health conditions, diagnosis or treatment are likely to find chair yoga a doable practice
- Seated yoga postures can be incorporated into a busy schedule
- Chair yoga will boost your mood and amplify your energy levels
- Chairs can help you reduce stress on your joints, bones, and muscles
- Seated yoga poses could help relieve neck and lower back pain
Before we tip you off with seated yoga poses and exercise videos, let's first quiz over a few of your repeated inquiries.
Frequently Asked Questions About Seated Yoga
Can chair yoga help you lose weight?
It may not be the most efficient primary practice for losing body weight. However, seated yoga poses in form of chair yoga will support your weight loss efforts, stimulate behavioral change, and reduce stress - all of which in turn can help support your weight loss.
Is chair yoga free?
Yes, the practice we share in this article is completely free. It consists of 16 seated yoga poses accompanied by written and video instructions to help you perform the movements easily.
Is it OK to do chair yoga every day?
Practicing chair yoga every day is desirable. Since it is not an intense form of yoga, these seated poses can safely be done without worrying about complications due to overpractice.
Is chair yoga as good as regular yoga?
Although not a full-blown practice, chair yoga can still help you claim better strength, mood, mobility, and mindfulness. Seated poses can also help people with chronic neck and back pain because it targets specifically the line of the spine.
Is chair yoga good for seniors?
Chair yoga is by far the best form of exercise for seniors. While the seated poses are great for mobility, strength, and pain relief, the chair offers support to work through a multitude of otherwise impossible poses.
Is chair yoga effective?
Although a bit less challenging than regular yoga, chair yoga is as effective. Considering it's tailor-made for people with lower mobility levels, we might argue that seated poses are even more effective for the purpose of gradually and safely gaining flexibility.
16 Essential Chair Yoga Poses
Sit, lean or push against it - these chair yoga poses are perfect to open up your body. Moreover, seated poses are a fantastic way to rejuvenate your spirit for the remainder of the day!
#1 Deep Breath to Settle In
Let's ease into a gentle chair yoga session with just three to five breaths.
Exercise Instructions
- Take a comfortable seat on a chair with your feet flat on the ground, and your hands resting on your lap.
- Close your eyes and take a deep breath in through your nose and out through your mouth to relax.
- As you inhale, slowly raise both of your arms overhead, palms towards the ceiling, while keeping them at your sides
- Hold your breath for a moment with your upper arms overhead.
- As you exhale, slowly lower both of your arms back down, palm facing the ground, to your hip level.
- Pause for a moment at the bottom of the exhale before taking another deep breath in and repeating three to five breaths.
#2 Floor-chair Pigeon Pose
Get down and peck-peck! It's time for a pigeon pose.
Exercise Instructions
- For the second pose, sit on a chair with your feet flat on the ground and your hands resting on your thighs.
- Lean forward slightly, while keeping your sit bones rooted, so that the hand fingertips and feet are touching the ground.
- Inhale deeply and as you exhale, slowly lift your right arm up towards the ceiling while keeping it parallel to your torso. Left fingertips still on the ground.
- Hold this position for a few seconds before slowly lowering your right hand back down to rest on the floor.
- Repeat this movement with the left arm, lifting it up, holding for a few seconds, and then lowering it back down to rest.
- Repeat steps 3-5 for several rounds, alternating between lifting each arm.
#3 Chair-supported Upward Bow
Exercise Instructions
- Sit comfortably on a chair seat with your feet on the ground and your hands resting on your lap.
- Inhale deeply and as you exhale, lift both of your arms up to shoulder level and extend them out wide.
- Lean on the back of the chair, allowing your arms to fall slightly behind you while squeezing your shoulder blades together.
- Allow your head to follow this motion and gently lay it back for a good stretch in your neck, chest, and abdomen.
- Hold this position for a few seconds before inhaling deeply and transitioning to the next step.
- As you exhale, slowly start bowing forward from the waist, and roll your shoulders inward, while keeping your arms extended in front of you.
- Bring your arms almost together in front of you, stretching out your lats and back muscles.
- Hold this position for a few seconds before inhaling deeply and transitioning back to step 2.
#4 Eagle Pose With Chair Support
If you're having back problems, you'll love this cross-legged position! Eagle pose, chair close.
Exercise Instructions
- Sit comfortably on a chair with your feet flat on the ground and your hands resting at the sides of the chair.
- Cross your left leg over your right knee (right leg), feeling the stretch in your quads, glutes, and upper leg. Hold a cross-legged position.
- Using your arms, lift yourself slightly off of the side of the chair so that your arms are straight. Hold your left leg over your right knee. Open up your chest towards the ceiling.
- Allow your head to relax back and point towards the ceiling for a deeper stretch.
- Hold this cross-legged position for a few seconds before gently lowering yourself back down onto the chair.
- Repeat steps 2-5 with your right leg crossed over your left knee (left thigh), lifting yourself up with arms straight, opening up your chest, and relaxing your head back.
- Continue alternating between crossing each leg and lifting yourself up using your arms.
#5 Sitting Half Lords of The Fishes Pose
If number #4 brought a wave of relief in your lower back, this one's a tsunami.
Exercise Instructions
- Start from an original seated position with your feet flat on the ground.
- Cross your right ankle over your left knee (left thigh), so that the left foot is only resting on the ground.
- Place the palm of your left hand on your right thigh.
- Inhale deeply and as you exhale, gently twist to the right (your torso), reaching with your right arm (right shoulder) far back behind you. Right ankle should remain over your left knee.
- Allow yourself to feel a deep stretch in your lower back, core muscles, chest, and your right shoulder.
- Hold this position for a few seconds while breathing deeply.
- Slowly release and return to the center position.
- Repeat steps 2-7 with your left leg crossed over your right knee and rotating towards the left side.
#6 Chaired Bridge Pose
Exercise Instructions
- Start with an original seated position in a chair with your feet on the floor.
- Rest your hands on the sides of the chair or on the front edge.
- Using your arms for support, push your hips out in front of you to make a bridge pose. You should feel a stretch in your chest and hips.
- For an extra stretch, open up your chest and squeeze your shoulder blades together.
- Hold this position for a few seconds, inhale deeply, and release.
- Slowly bring yourself back down to a seated position on the chair.
- Repeat steps 3-6 for several repetitions.
#7 Chair Pigeon with Ankle-to-Knee
Exercise Intrucutions
- Sit comfortably in an upright position on a chair with your feet flat on the ground.
- Cross your left foot over your right leg (right knee).
- Bring your arms up into a mountain pose, with your hands slightly wider than shoulder-width apart and palms facing each other.
- Inhale deeply and as you exhale, bow forward from the hips while keeping your arms straight up above your head.
- Go as far forward as comfortable. Allow yourself to feel an extra stretch in your thighs.
- Hold this position for a few seconds while breathing deeply.
- Slowly bring yourself back up to a seated position on the chair.
- Uncross your legs and repeat steps 2-7, bend your right knee, with your right leg crossed over your left leg.
#8 Chair-bound Gentle Yoga Seal
Let's open up those chest muscles some more.
Exercise Instructions
- Sit comfortably on a chair with your back straight and feet flat on the ground.
- Cross your fingers together behind your back, clenching your fists together.
- Roll your shoulders back as far as you can without feeling any pain or discomfort.
- Raise your arms upward, surrendering to a forward bow movement until your face is turned toward the ground.
- Allow yourself to feel a deep stretch in your shoulders and chest.
- Hold this position for a few seconds while breathing deeply.
- Slowly bring yourself back up to an upward position on the chair, but keep your fingers clasped together behind your back.
- Repeat steps 4-7.
#9 Settled Thread the Needle Pose (Seated Spinal Twist)
Most seated poses don't open you up as much, so time for a deeper twist. This chair yoga posture stretches your shoulders, side abdomen, lats, and neck. It may even help you correct your sitting posture.
Exercise Instructions
- Sit comfortably on a chair with your back straight and feet flat on the imaginary mat.
- Rotate slightly to the right so that you can grab the right side of the chair (or a right leg) with your left hand.
- Raise your right arm up above your head, further twisting your spine and leaning to your left side.
- Allow your head to follow the movement of your right arm.
- Hold this position for a few seconds while breathing deeply. Feel the stretch deep in your spine.
- Slowly bring yourself back up to a seated position on the chair, releasing your grip on the chair with your left arm.
- Repeat steps 2-6, this time rotating to the left and grabbing onto the left side of the chair with your right arm.
#10 Wide-legged Seated Forward Fold
Exercise Instructions
- Sit comfortably in an upright position on a chair with your back straight and feet flat on the ground.
- Bring yourself towards the edges of the chair and place your feet wide apart, to a point where you feel a nice stretch in your inner thighs.
- Fold your torso forward, allowing yourself to completely relax and letting your arms rest loosely at the sides of your feet.
- Hold this position for a few seconds while breathing deeply.
- Slowly bring yourself back up to a seated position on the chair and repeat the motion.
#11 Revolved Forward Body Stretch
Stay right where you are - just a small tweak here.
Exercise Instructions
- Sit comfortably on a chair with your back straight and feet flat on the ground.
- Bring yourself towards the edges of the chair and place your feet wide apart, to a point where you feel a nice stretch in your inner thighs.
- Rotate your torso to the left, leaning forward towards the floor.
- Touch your left foot with your opposite arm (right arm), while keeping the tips of your fingers of another arm (left arm) pointed upward toward the ceiling.
- Hold this position for a few seconds while breathing deeply.
- Slowly bring yourself back up to a seated position on the chair, rotating your torso back to the center.
- Repeat steps 3-6, this time rotating to the right and touching your right foot with your opposite arm (left arm), while keeping the tips of your fingers of another arm (right arm) pointed up.
#12 Revolved Chaired Forward Fold
OK, time to pick yourself up a little and mimic the chair.
Exercise Instructions
- Sit comfortably on a chair with your back straight, feet flat on the ground, your right leg and left thigh touching, and hands brought together like in a prayer.
- Slowly stand up from the chair while slowly separating your hands and moving them up to shoulder-width apart.
- As you stand up, move into a chair-like position with your knees and hips bent at a 90-degree angle and thighs almost parallel to the floor. It's almost like a seated mountain pose just standing up.
- Hold this position firmly for a few seconds while breathing deeply.
- Slowly lower yourself back down onto the chair and return to the original seated prayer pose.
#13 Standing Chair-supported Twists
Moving on, we'll transition to the standing poses and engage more than just your upper body.
Exercise Instructions
- Stand with your feet close together and firmly planted on the ground, with your arms at the sides of your waist.
- Slowly rotate your body to reach behind you and grasp the back of a chair or any sturdy object that is within reach.
- Hold onto the chair while feeling a deep stretch in your spine.
- Hold this position for a few seconds while breathing deeply.
- Slowly release your grip on the chair and gently pull back to standing with arms at the sides of your waist.
- Repeat the steps, this time rotating to the opposite side and holding onto the other side of the chair.
#14 Standing Forward Bend With Wide Stance
Moving on with standing yoga poses.
Exercise Instructions
- Stand with your legs wide apart, with your back straight and hands gripping the back of a chair behind you, chest forward.
- Slowly lean forward from your hips, keeping your back straight and without curving it.
- Continue leaning forward until you reach a 90-degree angle at the hip, feeling a deep stretch in your hamstrings and glutes.
- Hold this position for a few seconds while breathing deeply.
- Slowly raise yourself back up to a standing position.
- Repeat steps 2-5 for several repetitions.
#15 Standing Cross-legged Side Bend
Instead of the usual seated forward bend, let's stay up at our feet.
Exercise Instructions
- Stand with your legs crossed, with your left knee over the right one, using one hand to support yourself by holding onto the back of a chair.
- Slowly bend sideways towards the side that is opposite to the hand holding the chair, lifting your other arm up above your head to stretch your side abdomen, thighs, and lats.
- Lean towards the side holding the chair for a deep stretch
- Hold this position for a few seconds while breathing deeply.
- Slowly return back to starting position while exhaling.
- Repeat steps for several repetitions.
- Switch sides and repeat with the other side.
Bonus: Cat-cow Pose
Wrapping up our standing poses.
Exercise Instructions
- Begin by coming into a comfortable tabletop position on all fours, with your wrists directly underneath your shoulders, and knees directly below your hips.
- Inhale and arch your back, lowering your belly towards the floor and raising your head to look up towards the ceiling in a 'Cow' position.
- Exhale and round your spine, tucking in your chin towards your chest as you lift up from the tailbone in a 'Cat' position.
- Continue to alternate between these two poses for at least 5-10 slow breaths; make sure to keep the rhythmic breath throughout each movement.
- End with a few deep breaths in any comfortable position of choice; relax and enjoy!
Keep it Active!
In the words of Elle Woods, a fictional movie character we never thought we'd cite,
"Exercise gives you endorphins. Endorphins make you happy."
So why not sprinkle a little happiness throughout your workday by giving your body the movement it deserves? You can bust out some discreet chair yoga and seated poses, almost-sweat with desk exercises, take an exhilarating coffee-fetching adventure, or even creatively use home goodies for stress-relieving activities. There are countless ways to add zest and zeal to your daily grind.
So let loose and get active during the day, because ultimately, a happier you equals a more productive you. And who wouldn't find joy in that?

Wakeout